
SECTION 3 – ADDING CHAPTERS
Now it’s time to add chapters. Creating chapters isn’t necessarily tied to a specific story like it is in AO3, but the process is a lot less complicated that FFN. We’re going to create a chapter independently and apply it to a story.
SECTION 1 – THE BASICS
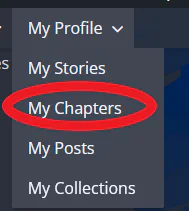
Following the same steps at making a story, hover over ‘My Profile’ and click ‘My Chapters’ (Remember: clicking ‘My Profile’ brings you to your dashboard. You can still navigate to your chapters from there, though).
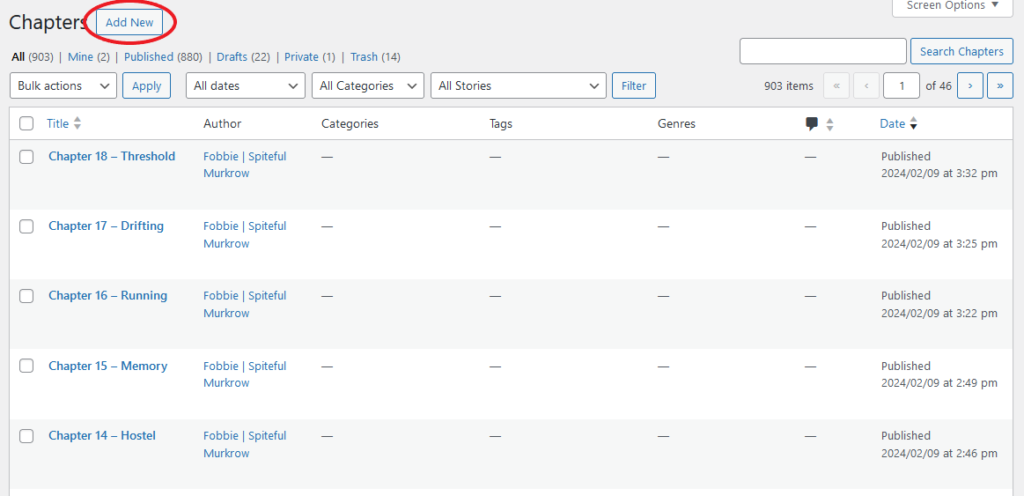
From the chapter dashboard you can just click ‘Add New’ to jump into the editor:
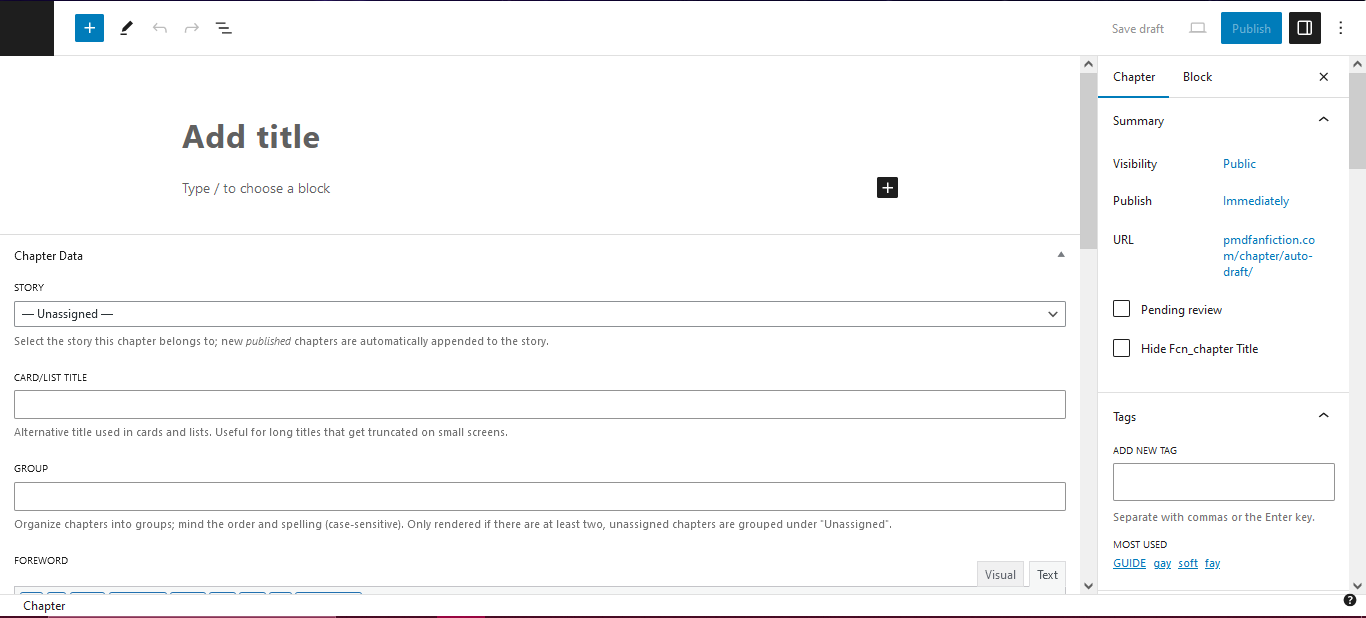
Looking at this creation screen should be pretty familiar; it’s extremely similar to the story posting editor! In fact, the editor for all content types is very similar and uses the same ‘blocks’ system.
IMPORTANT: The ‘blocks’ system is much like Tumblr. Every paragraph is its own ‘block’ that can be clicked and dragged to be rearranged. Blocks can be other things besides paragraphs, too, like custom HTML, embedded videos, line breaks and so much more.
IMPORTANT: If you’re copy/pasting text and pictures they will automatically convert to blocks but BE SURE TO CHECK ALL FORMATTING.
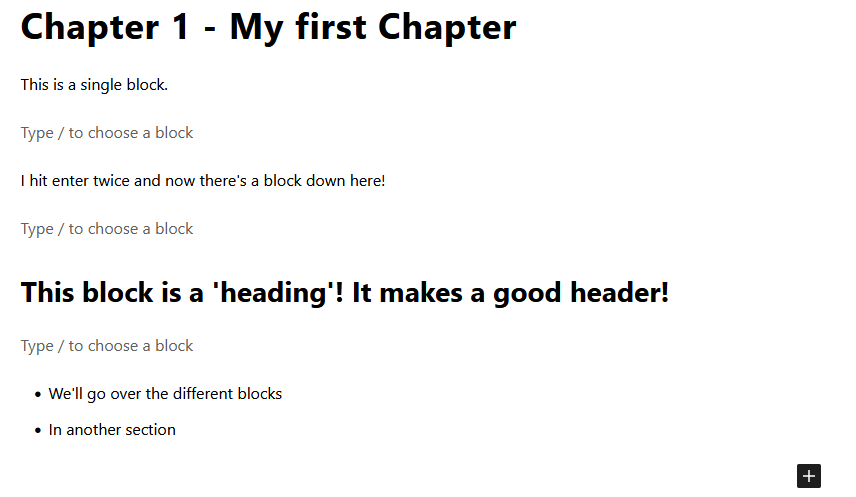
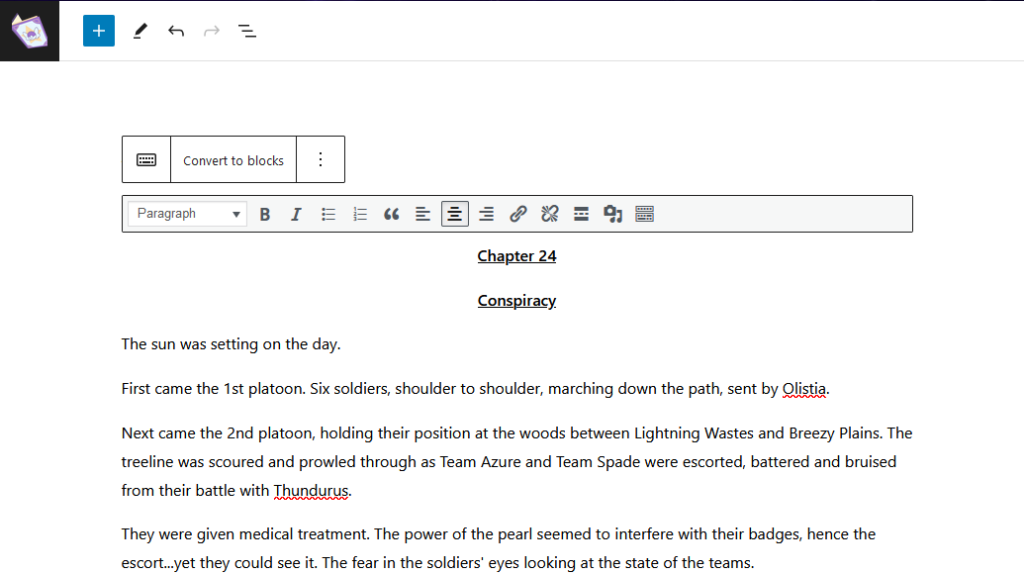
This shows an example of writing using the block system. Each block has its own functionality, which makes for powerful fic editing.
SECTION 2 – QUICK IMPORTING FROM OTHER SITES (AO3 / FFN / THOUSAND ROADS)
Generally, copy and paste from other sources can be tricky. There are currently quick porting options for: ARCHIVE OF OUR OWN (AO3) and FANFICTION.NET (FFN).
CHAPTERS FROM ARCHIVE OF OUR OWN (AO3) STORIES:
AO3, in its limited HMTL for stories, uses very outdated HTML standards. If you just click-drag from your story or paste the HTML as-is IT WILL NOT WORK! The blocks system will break down and the site will fail to recover your work.
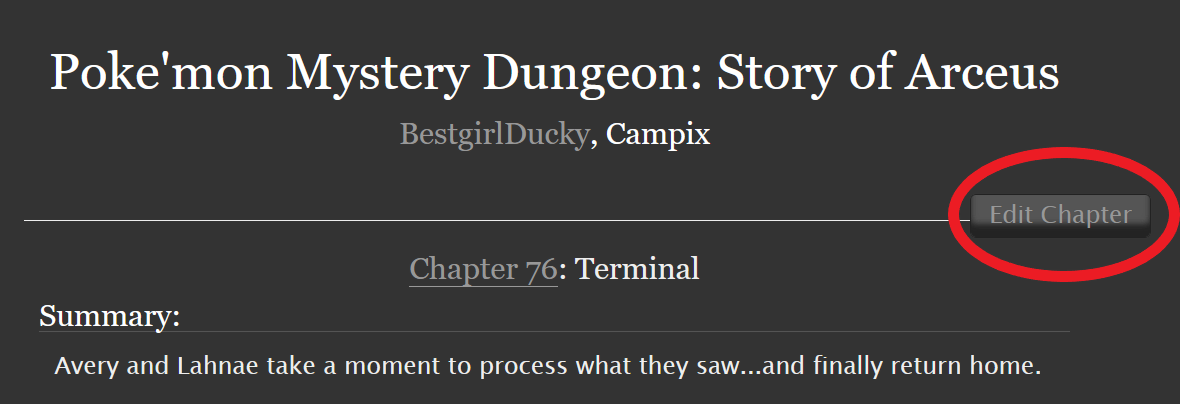
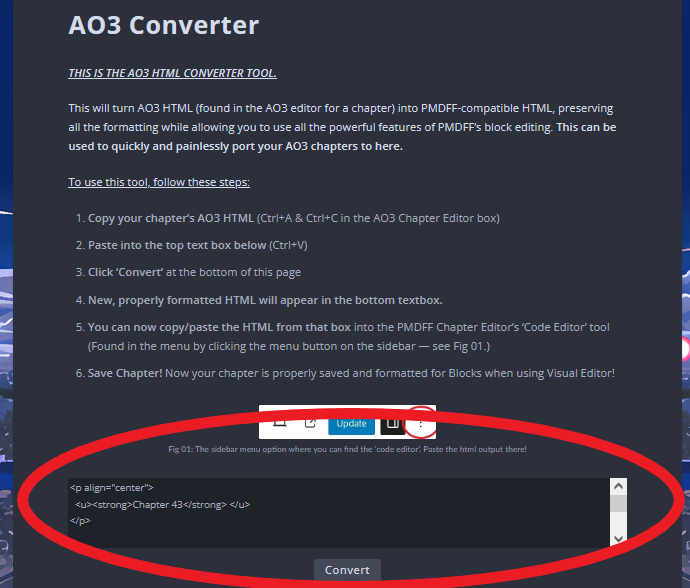
IN ORDER TO PROPERLY PORT A CHAPTER FROM AO3 TO PMDFF, CLICK THIS BUTTON TO GO TO THE AO3 CONVERTER TOOL AND FOLLOW THE INSTRUCTIONS (Or find the tool via the toolbar at ‘For Authors’ > ‘AO3 Converter’.
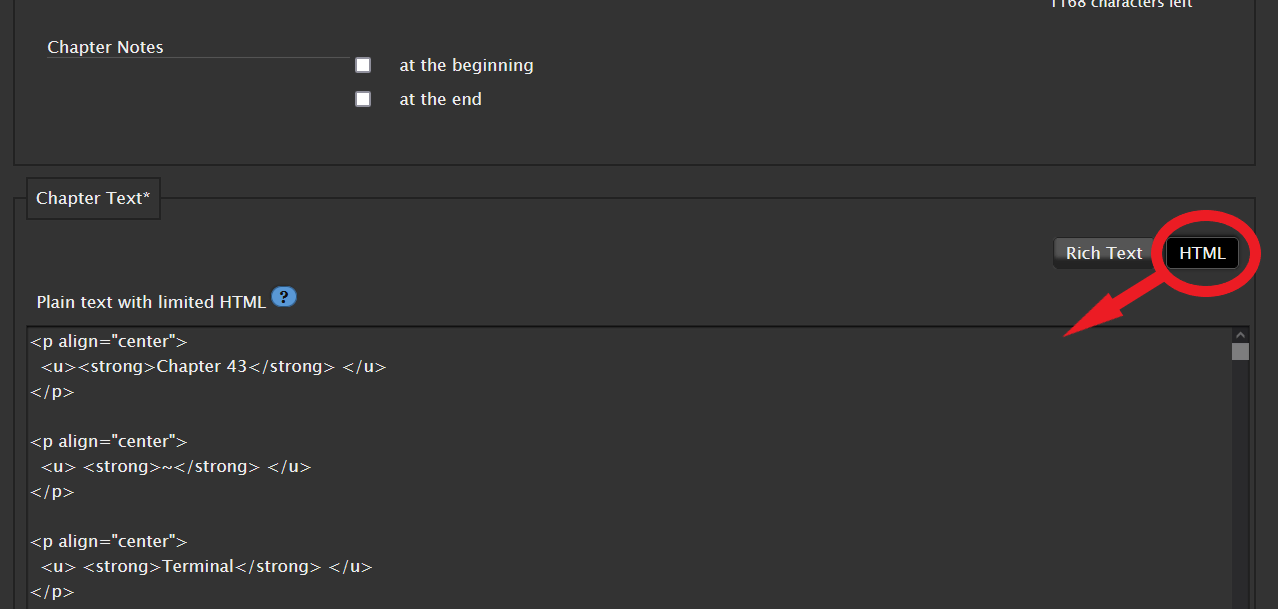
Copy/Paste the HTML from AO3’s editor into the AO3 Converter. The AO3 HTML can be found here, just CTRL+A/CTRL+C it into the AO3 Converter:
When you hit ‘Convert’…
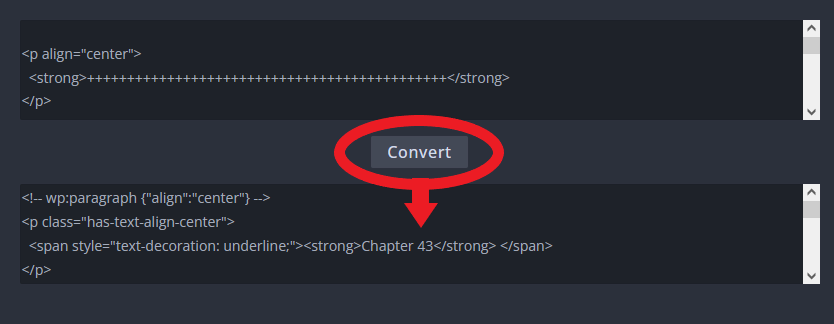
It automatically converts the HTML into WordPress HTML!
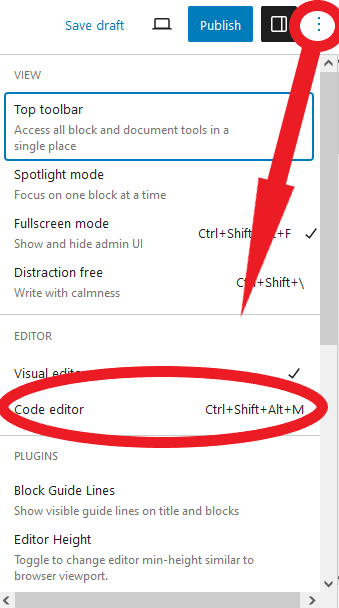
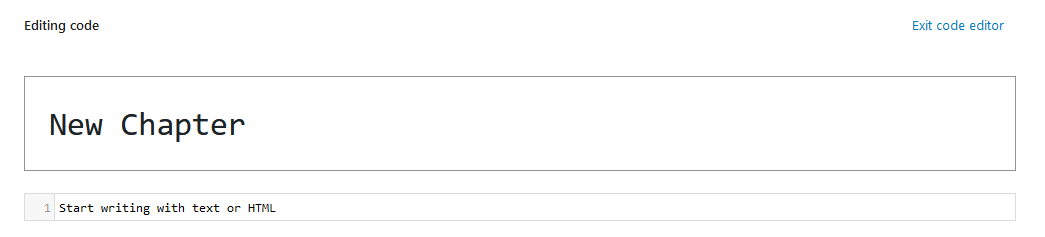
Now you can copy that and go to the ‘Code Editor’ (Seen here in Section 8 – ADVANCED TOOLS of the guides) and paste that generated WordPress HTML in:

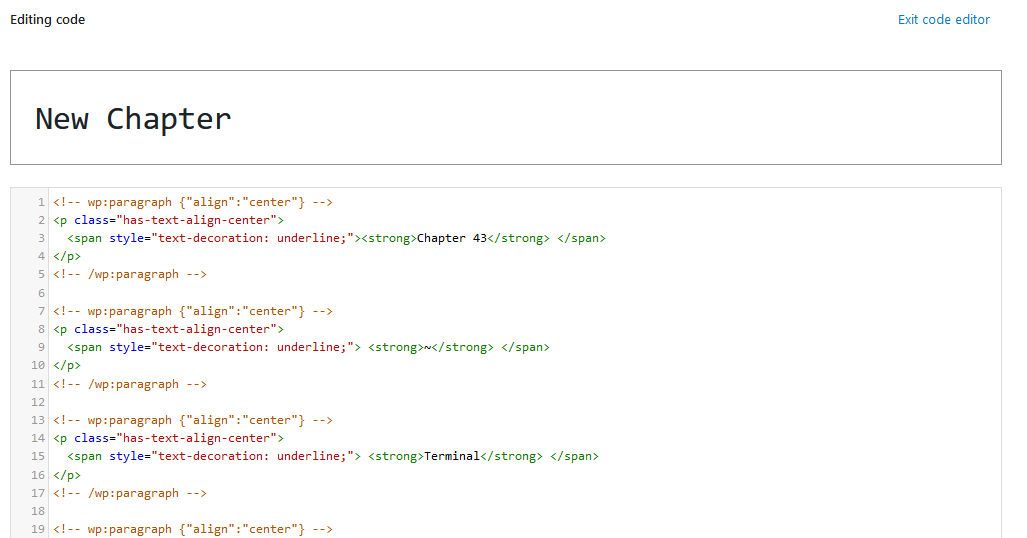
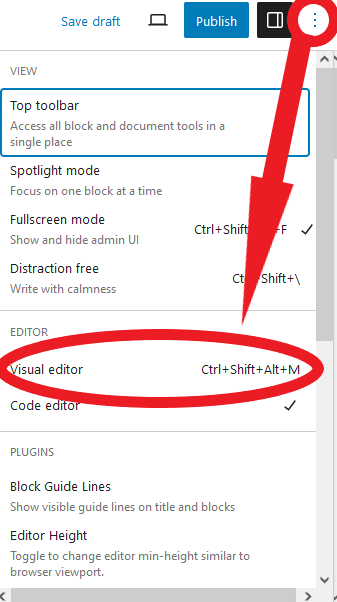
Returning to the ‘Visual Editor’ shows the chapter has been successfully ported with all formatting – Italics, paragraph positions, linebreaks, everything!
Any further edits you want to make can now be done with the easy-to-use blocks sytem.
CHAPTERS FROM FANFICTION.NET (FFN) STORIES:
Because FFN uses a Rich Text Editor, same as AO3, you can easily port your story’s text using the ‘Classic’ block!
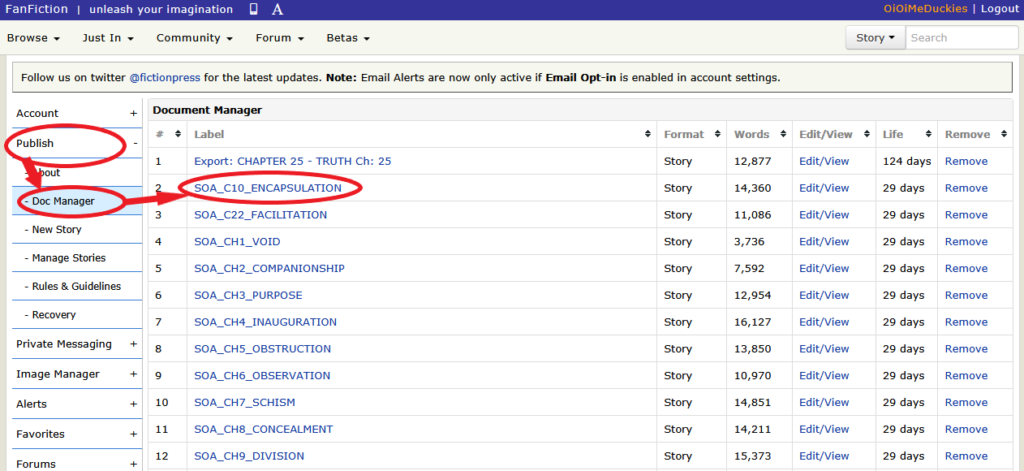
On your FFN Dashboard, go to Publish -> Doc Manager and click the chapter you wanna port.
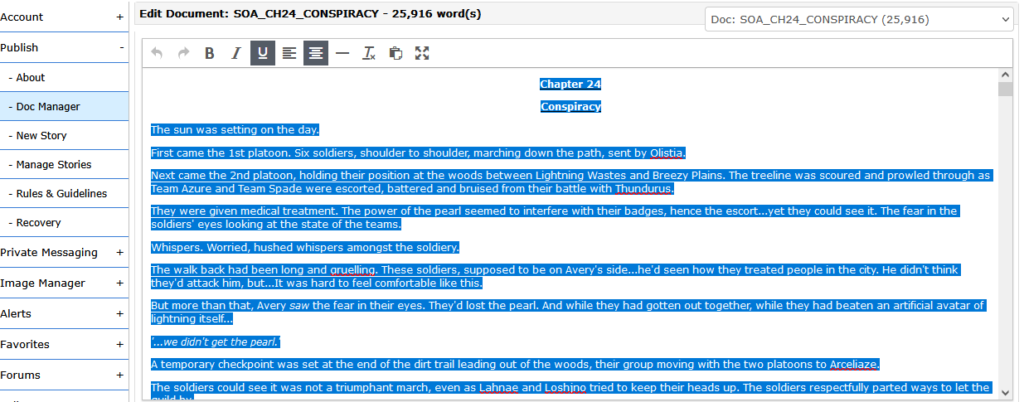
From the FFN Doc Editor, copy all your text…:
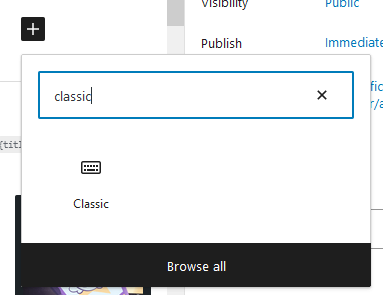
Now, in the chapter editor, click the [+] button…
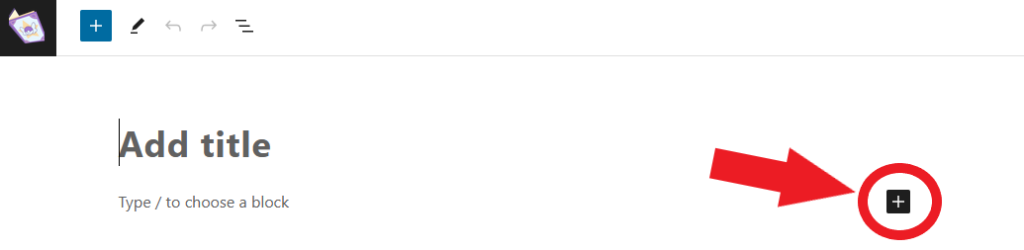
And search for/click the ‘Classic’ Block.
This will give you an editor that functions like FFN’s doc manager editor. It’s an Rich-Text Editor!

So…paste your FFN text into the box and…you’re done! All formatting and justifies are preserved and it’ll work!
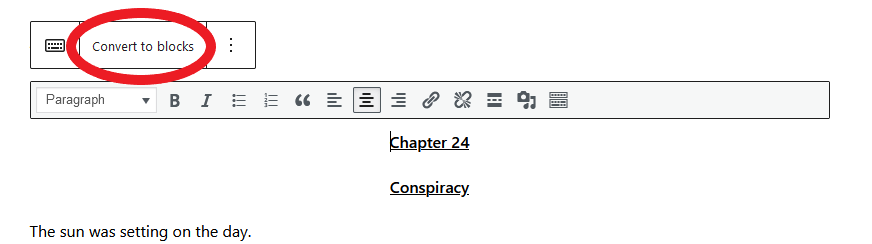
One final thing: If you’d like to edit your story using all the powerful features of blocks + be able to add music and pictures and other formatted blocks to your PMDFF version of the story you can click ‘Convert to Blocks’. It’ll automatically try to parse the story as a block-format PMDFF story. But just know this has a chance to break some centering/right justifies so be careful!
CHAPTERS FROM THOUSAND ROADS (TR) STORIES:
The easiest way to import chapters from TR currently is to copy/paste the text from the post editor. However, this will NOT preserve paragraph positions (Centering / Right Justify / etc) nor line breaks. Only italics, bolding, underlining, etc will be preserved. Additionally, any linebreaks will appear as [HR][/HR] and will have to be manually edited to be linebreaks.
SECTION 3 – CHAPTER DATA AND SIDEBAR
After your chapter is written, it’s time to set up the information on the chapter.
SECTION 3.A – CHAPTER DATA
Scroll down underneath the chapter editing window to find the Chapter Data section. The first option here will be the ‘Story’.

This will be where we choose the Story this chapter applies to. When you click the drop-down menu you’ll see a list of all your stories.
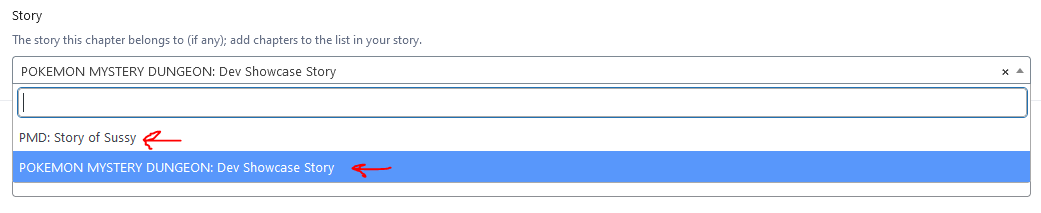
Select your story and the chapter will automatically be applied to the end of that story’s chapter list. If you need this chapter to be placed between two chapters and not at the end, you can re-arrange your chapters in the Story’s editor.
SECTION 3.B – CARD/LIST TITLE
This is a simple option that lets you specify an abridged title for card view

As seen here:
SECTION 3.C – GROUP
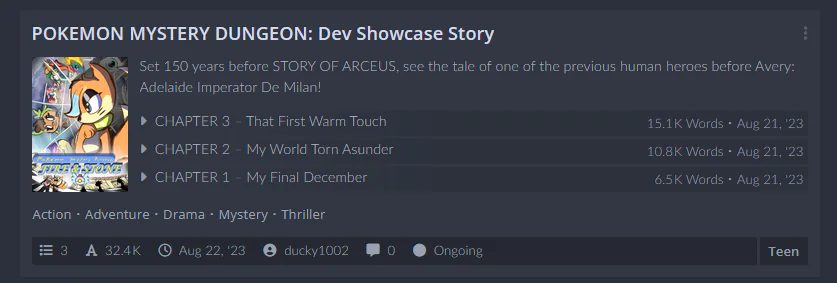
The ‘Chapter Group’ option is a very powerful tool for people with long multiple-chapter fics that span several arcs.

To use this, simply type a group name, such as ‘Arc 1’ or ‘Part 1’:

This will specify this chapter’s group. Now if, when you add another chapter, you type in the same group name, it will appear under that group, as shown here:
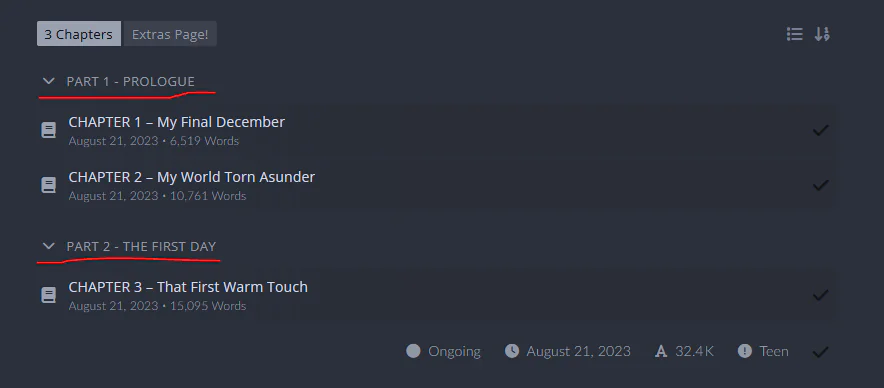
NOTE: You will have to hand-key the group name and it MUST match the group name of other chapters in that group VERBATIM (CASE SENSITIVE) in order for grouping to occur. So in the above example, both Chapter 1 and Chapter 2 had to have ‘PART 1 – PROLOGUE’ typed in the ‘Group name’ box with the same spelling, spacing, and in all uppercase. If one of them was instead ‘Part 1 – PROLOGUE’ then this would have been treated as a different group than ‘PART 1 – PROLOGUE’.
For this reason it’s HIGHLY RECOMMENDED you COPY the group name from a previous chapter a PASTE the group name into the new chapter’s group name entry.
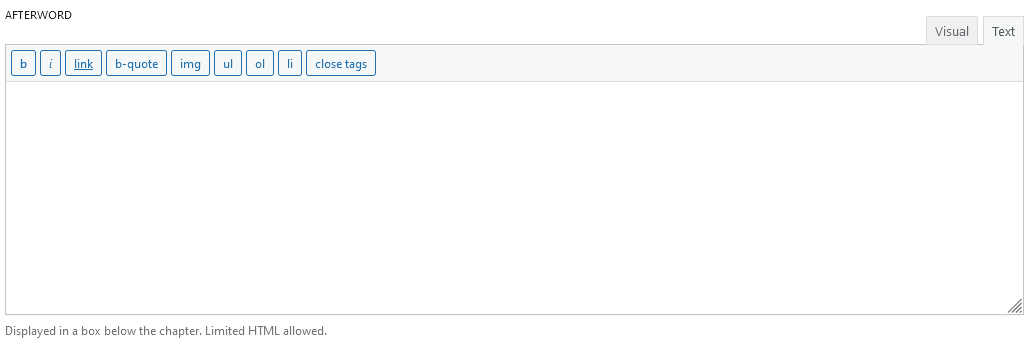
SECTION 3.D – Foreword / Afterword
The next two boxes are for the forward and the afterward. These are essentially your places to type in author notes.

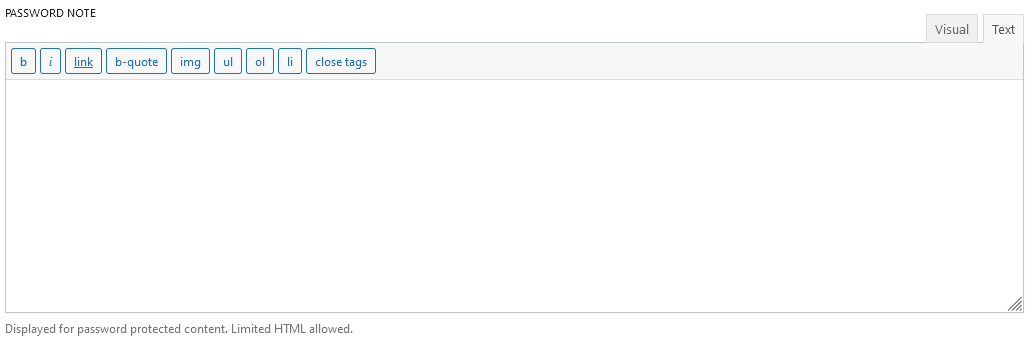
SECTION 3.E – PASSWORD
The last box is used to put a message over password protected content.
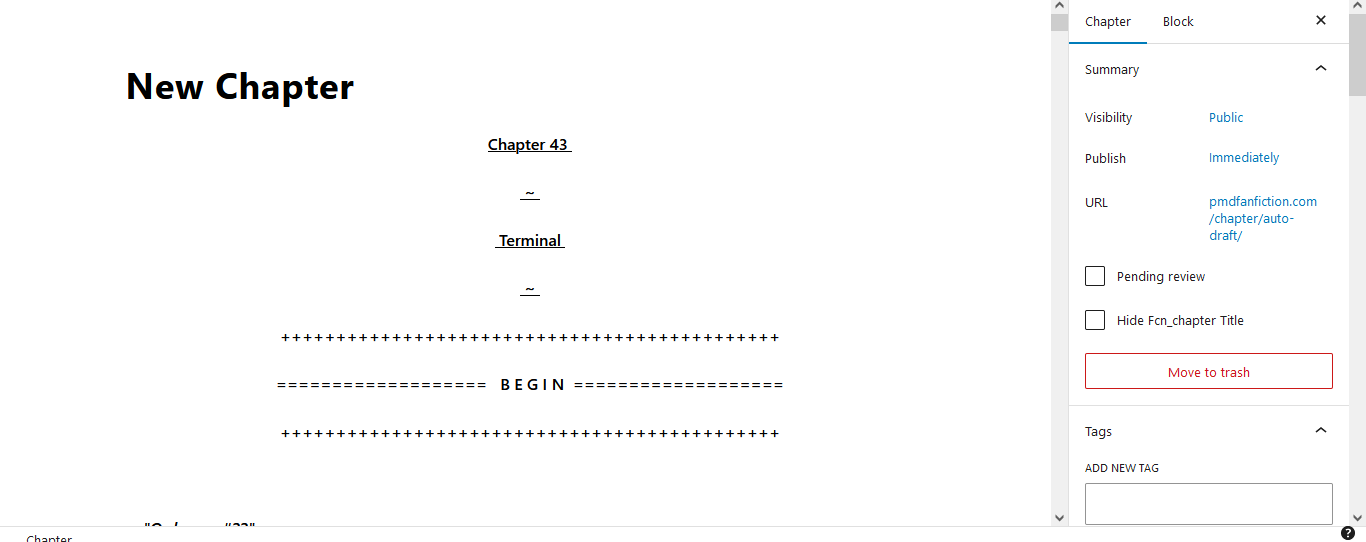
SECTION 3.F – SIDEBAR
Many of the options available on the sidebar are the same as those found in the story editor, which has its guide here. This includes:
- (SUMMARY) Setting Visibility (Public, private or password protected)
- (SUMMARY) Setting time/date of publishing (Publish Immediately or publish later at a specific time/date?)

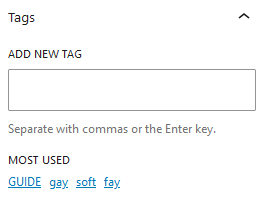
- (TAGS) Setting tags (To define what’s in the chapter, which can be its own set of tags from the story)
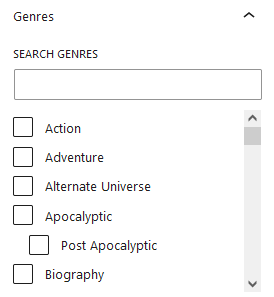
- (GENRES) A checklist to define the genre of a chapter, which can be its own set of genres, separate from the story itself. In case you want to mark a specific chapter as horror themed or your story is a collection of oneshots.
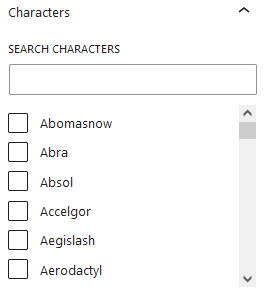
- (CHARACTERS) Select Pokemon that will appear in the chapter
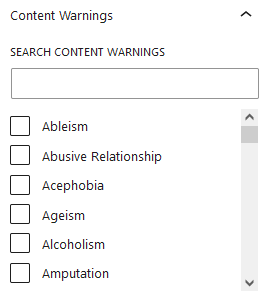
- (CONTENT WARNINGS) Select the content warnings that apply to this chapter
- (CHAPTER COVER IMAGE) Set a unique cover image for the chapter. A useful tool for oneshot collections.
- (EXCERPT) Set a manual excerpt (which is used when the chapter appears in a search)

- (DISCUSSION) Allowing/Disallowing comments. This will TOTALLY REMOVE comments from the story.
- (CHAPTER META) Lets you set a bunch of settings for the chapter.
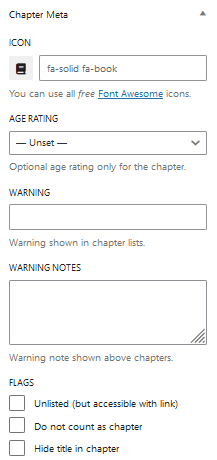
Here’s the different options available:
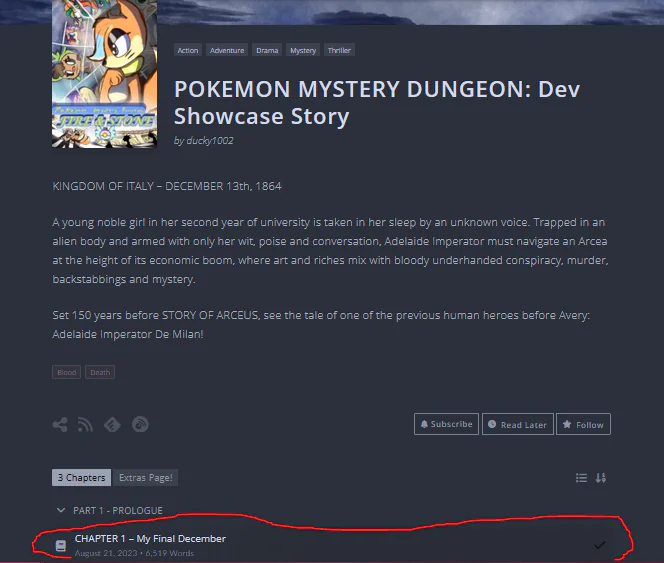
- (CHAPTER META) The Chapter Icon changes the little icon that shows up next to the chapter name on the list as see here:
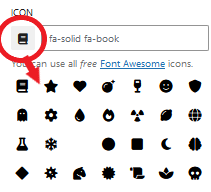


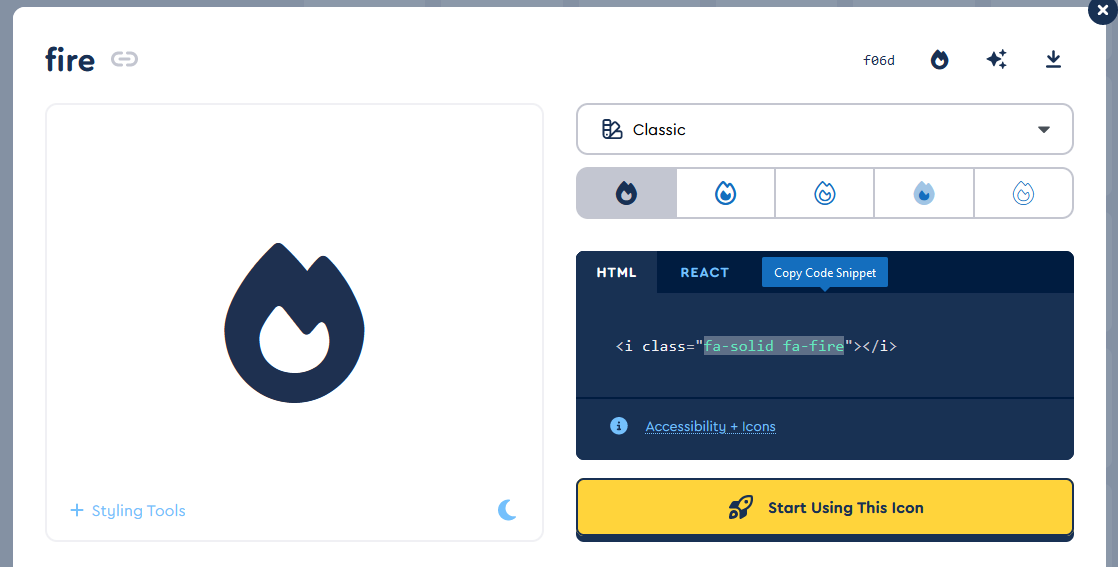
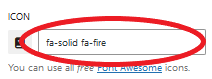
(To get more options in icons follow the “Font Awesome” link to get a huge list of available icons.)
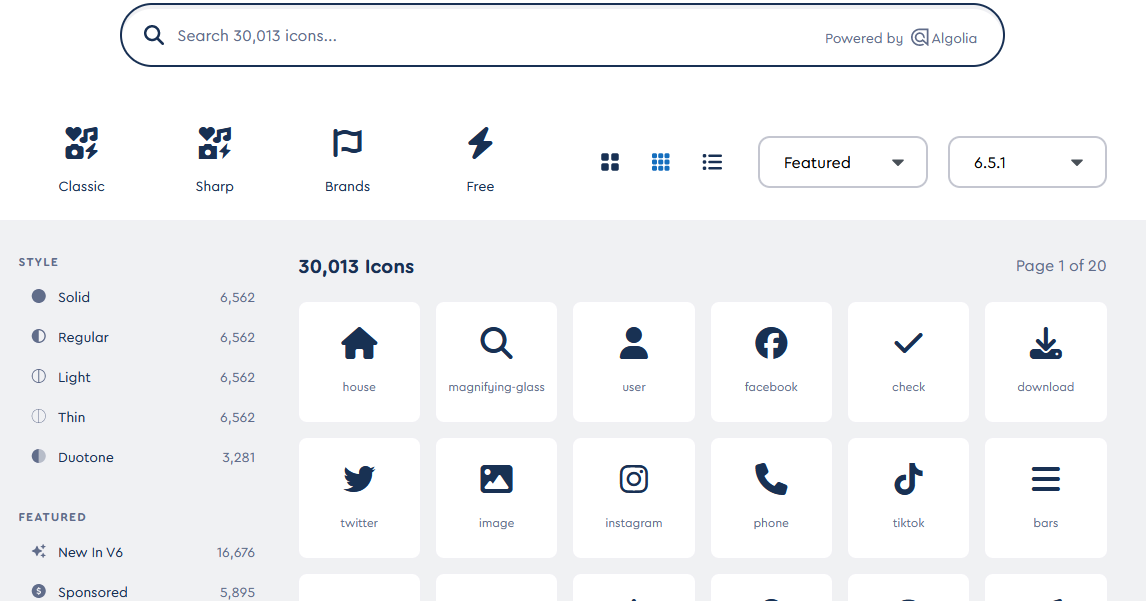
(Clicking on one gives you the code you can then input into the text box to get that icon):
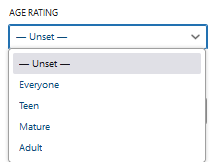
- (CHAPTER META) ‘Chapter Age Rating’ – This lets you set a specific age rating for the chapter. Again, this is useful for oneshot collections
- (CHAPTER META) ‘Chapter Warnings’ – This is where you put chapter-specific warnings.
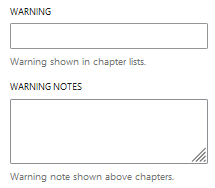
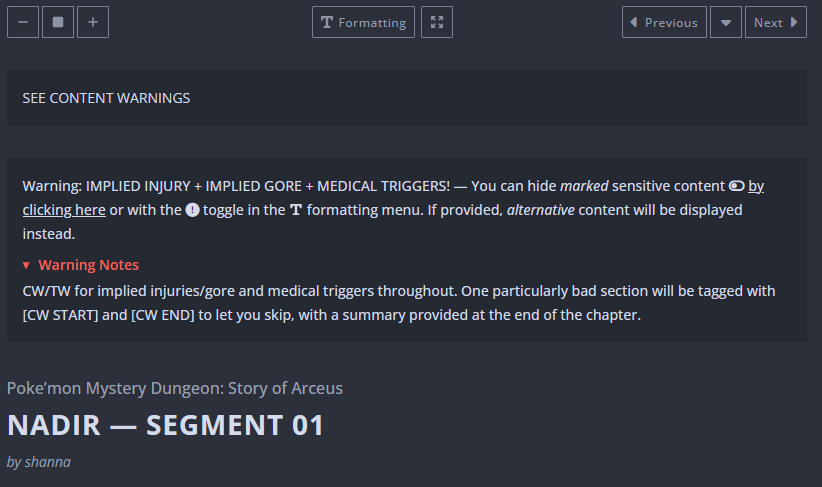
(Warnings appear like so on the chapter list):

(And Warning Notes appear like this in the chapter itself. BE WARNED: the notice about the ‘hiding marked sensitive content’ is AUTOMATICALLY ADDED – if you don’t mark sensitive paragraphs then your readers may be confused/upset. In order to know how to mark paragraphs as sensitive, refer to SECTION 8 – ADVANCED TOOLS of the guide!)
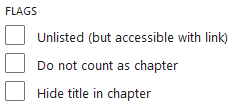
- (CHAPTER META) ‘Flags’ – These are misc options allowing you to:
- Keep the chapter unlisted from your story
- Not include this chapter in the story’s chapter count
- Hide the title of the chapter in the chapter itself (For aesthetics purposes)
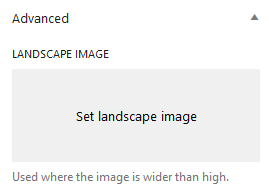
- (ADVANCED) ‘Landscape Image’ – In any scenario where the website has to display your chapter image in landscape view (wider than it is tall) then, by default, it’ll simply crop your chapter’s image. Since that’s ugly you can specify an alternative landscape image to use in these scenarios.
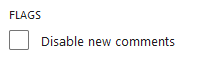
- (ADVANCED) ‘Flags’ – Only one flag is available: Disable new comments. This locks this chapter from getting any new comments. NOTE: This will NOT hide or delete comments currently posted, only prevent new ones from being posted.
SECTION 4 – PUBLISHING
Once all of the data has been filled out and the chapter is written/imported, we’re ready to publish.
Of course, if you’d like a preview of your chapter you can click this button.

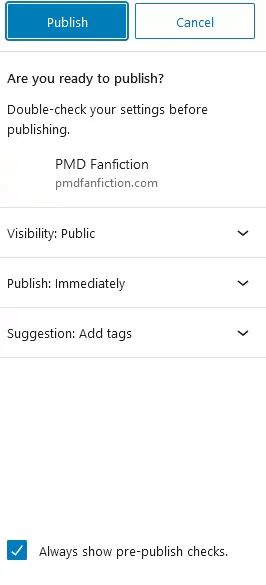
If everything looks good, hit the ‘Publish’ button.

This will open up the publishing menu on the sidebar. This will be a final check-list before publishing including setting visibility (public, private, password-protected), timing of the post and a few helpful suggestions from the editor of things to do before publishing.
Sometimes you might be prompted to upload offsite media. This will change your embedded images (from tumblr or imageshack) into images hosted by us here at PMDFF! This will ensure they always load and load quick and won’t have any stability issues should the off-site image hoster change their policies.
WE RECOMMEND ALWAYS HOSTING YOUR FIC’S IMAGES ON PMDFF. But remember: The images only work on PMDFF and can’t be embedded elsewhere (as we get charged per-access and offsite embedding would bankrupt us pretty fast!!)
Once you’re sure everything’s good, you can publish and the chapter will be automatically applied to the story you selected in the chapter editor.
Keep this in mind when publishing: While generally you have control over the content you post there are certain aspects that are automatic and controlled by the website/readers. This includes things like PARAGRAPH INDENTATION (Indentation is toggled on and off by readers — you don’t control it on your end).
Now that’s all well and good. We can add as many chapters as we like, group them by Arc, give them pictures, and all these wonderful things. But something else we may want to do is add in an extra post for things like, say, Character Bios or Fanart. Well, you’re in luck, because you story can have that too! Go back and check the next guide!
0 Comments