
SECTION 6 – THE EDITOR AND YOU
The editor for all text content (Story Descriptions, chapters, posts, pages) uses something called ‘the block system’. If you’ve used WordPress before this should seem familiar to you. Tumblr also uses a similar system, in which every paragraph is selectable and can click+dragged to rearrange the text easily.
The Block system functions in much the same way, letting you create individual content blocks, each with their own options and functions available to you and allowing easy arrangement of those blocks.
This tutorial will seek to highlight usage of the block system as well as give an overview of all the options available to you for each block.
SECTION 1 – THE BASICS
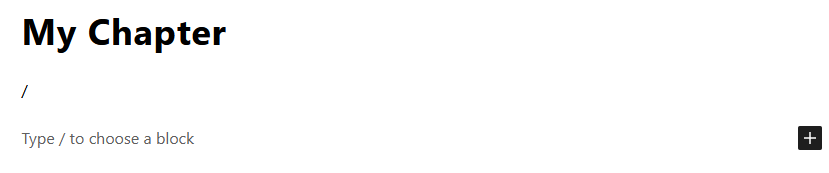
When you first begin editing text content you’ll see the following:

Now, if you were to simply start typing where it says ‘Type / to choose a block’, it would automatically turn into a paragraph block. Like the tip says, however, typing ‘/’ will pop up a list of blocks for us to use.
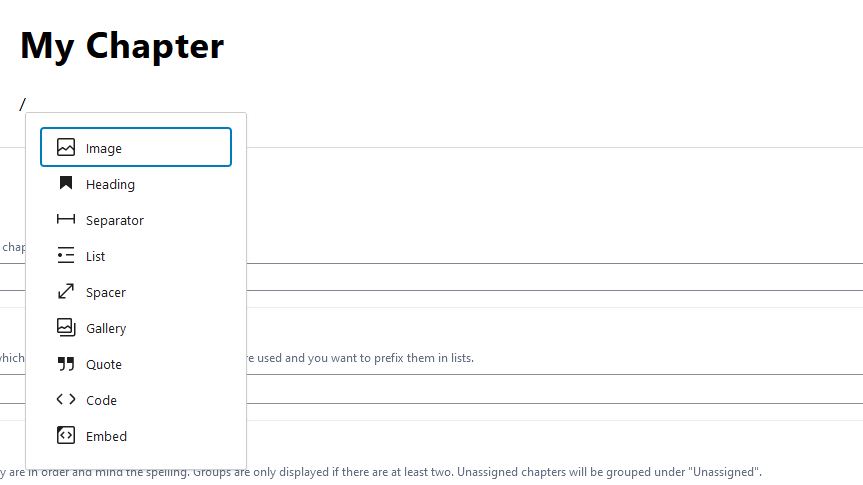
This is not an exhaustive list, however, only a list of the most commonly used blocks for the purposes of fanfiction.
If, however, we instead use this ‘+’ button, we’ll be given a pop-up window.
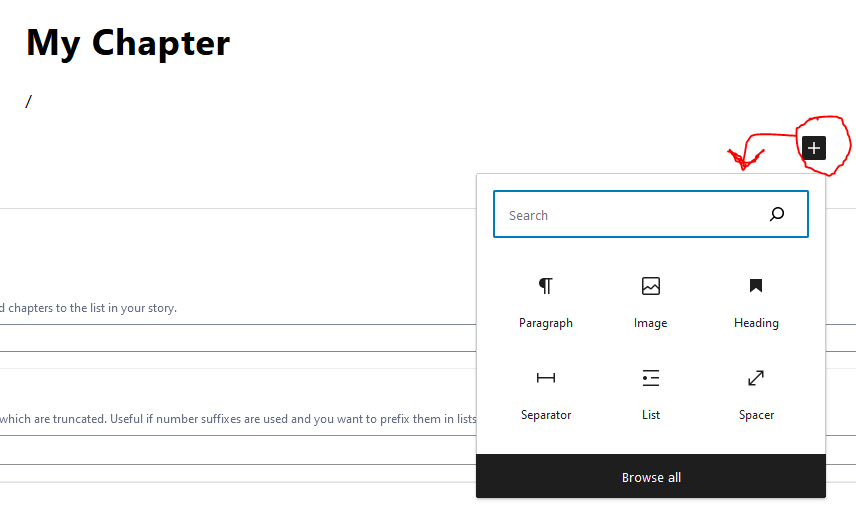
This box displays the last 6 block types you’ve most recently used, with an option to search for block types or to browse all block types. Let’s click ‘Browse All’ to see our options.
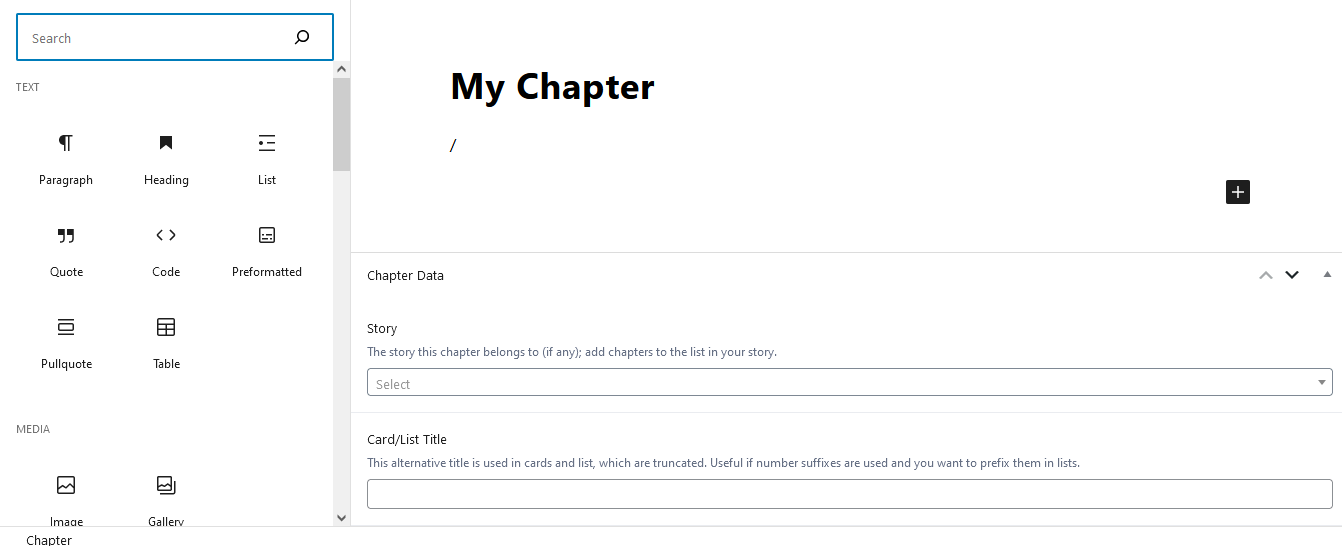
We now have a new side bar on the left giving us our suite of blocks to use. “Paragraph” is considered the ‘default’ block. For the purposes of understanding the basics, let’s create a paragraph block.
We’re now back to square one, with another block telling us to ‘Type / to choose a block’. So now we understand that we started with a paragraph block all along. If we start typing in this, it turns into a ‘TEXT Paragraph’ block, unlocking all the options associated with text:

Every block as its own associated hot bar and sidebar options. If you look at the right most side-bar, you’ll see 2 tabs: One for post, which changes depending on the content type (Story, Chapter, Post or Page), and one for Block, which changes depending on the currently selected block.

Selecting the ‘Block’ tab lets you see sidebar options for your block.
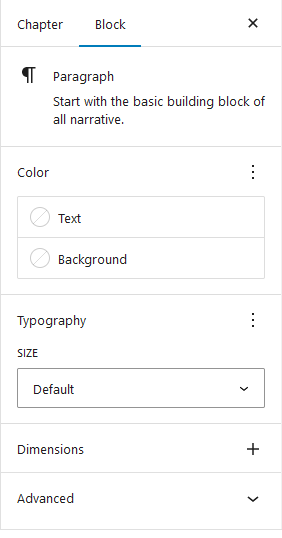
These options will also change depending on the type of block that’s selected.
The Full list of blocks are as follows:
- Paragraph
- Heading
- List
- Quote
- Code
- Preformatted
- Pullquote
- Table
- Image
- Gallery
- More
- Separator
- Spacer
- HTML
- Embeds
We’ll go over the the most important of these: the Paragraph.
SECTION 2 – Paragraph
The Paragraph is the most basic block, as stated before. It’s the block type that is always defaulted to when typing in a block.

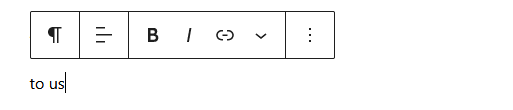
Part 1 – Toolbar
Here we see the suite of toolbar options for Paragraph:
The first button with the ‘paragraph’ button gives us a list of blocktypes this block can be converted to. Every block has a set of other blocks it can be turned into using this method.
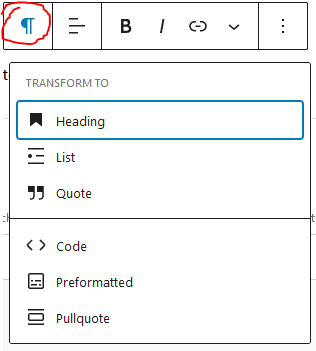
The block types we can change this paragraph into are:
- Heading (Big, bold Text used to act as a heading)
- List (List using bulletpoints or numbers or letters etc)
- Quote (A special formatted text block for quotes)
- Code (Same as quote but with more code-like look for formatted
- Preformatted (A block that lets you copy/paste formatted text. The Preformatted block attempts to preserve your formatting)
- Pullquote (Collapsible block of text)
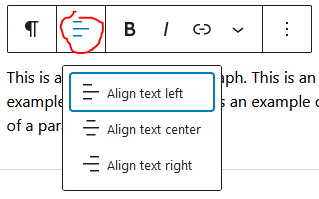
The next button allows us to choose the orientation of this text, whether it’s left, center or right.
The next set of options (Plus extended drop-down menu) contain all of our text formatting, from bold to italics to strike-throughs.
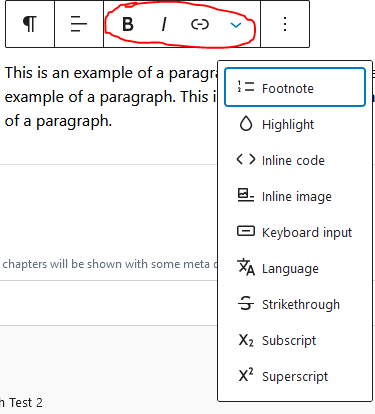
Here’s an example of each:

This is an example of ‘Bold’. This can also be activated using ‘Ctrl+B’. The editor will highlight the section of text that has the ‘bold’ applied to it as you type. If you click off the text then click on again, at the end, then what you type after won’t be bolded. You can press left on the arrow key to re-enter the bolded block and resume typing in bold.

This is an example of italicize text. This can also be activated using ‘Ctrl+I’. The same rules for italics apply to bold. You can also italicize and bold at the same time.

This is an example of a footnote. This automatically puts a numbered superscript to let us feature footnotes at the bottom of the chapter. 1

This is an example of highlighted text. When you select this option you’ll be presented with a popup window that will let you set the text color and the background color. So here you see I’ve selected white text with black background.
Now, more garishly, I’ve selected red text and blue background.
Yellow Text, Green Background.
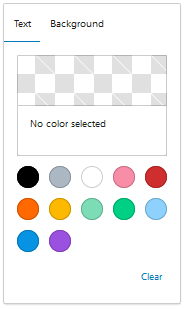
Here’s the highlight color selector. It gives you 2 tabs – one for text, one for background. It also gives you pre-made colors. If none of these suite you, select the white/grey checkerboard to open a color-picker:
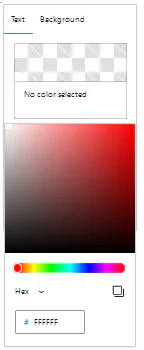
Now you can select a color with the box and slider or input a specific color via hex, RGB or HSL.

Here's an example of inline code. Because it’s inline, it can be placed even in the middle of a paragraph. And show up whenever, much like simple bolding. Keep in mind, this isn't ACTUALLY code. It's just a text formatting typically used for when you're showing code.

Another inline tool. This lets you select an image to place on a line of text, rather than in its own block. And example of this would be thus: ![]() And when you click the image you’re given the ability to adjust the width. The aspect ratio will be preserved and text on other lines will shift up and down to accommodate the inline image.
And when you click the image you’re given the ability to adjust the width. The aspect ratio will be preserved and text on other lines will shift up and down to accommodate the inline image.
This is an example of keyboard input. Just like with inline code, this is simply a text stylization for you to use if needed.

Here’s an example of using the Language button. And so is this.
This gives tools to accommodate different languages, such as aligning text right to left.
Here’s an example of strikethrough. Its selection properties are the same as italics and bolding.
Here’s a subscript in action: Look at me! You can use this both for mathematical subscripts…and if you just want itty bitty text~!
Here’s superscript in action: Similar to subscript, only the text is raised upward instead of set lower. It’s the same purpose as subscript.
Underlining
Here’s an example of underlining. There’s no button for this but it can be activated using CTRL+U.
Next, we have the final set of toolbar options:
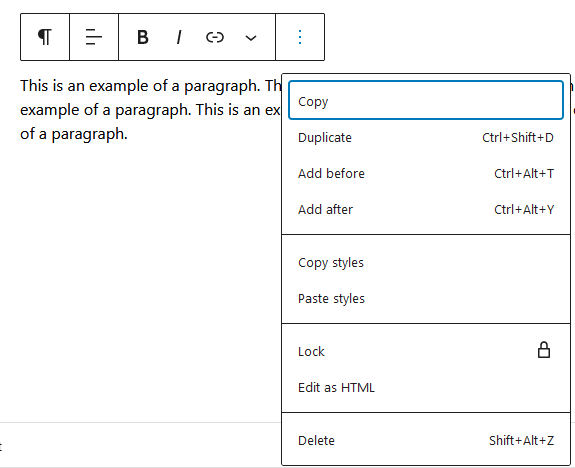
- Copy – Copies the selected block so you can paste it elsewhere.
- Duplicate – Creates a duplicate of the selected block
- Add Before – Creates a new block before the current block. Note, you can also achieve this by holding your mouse between 2 blocks until a blue line with a [+] appears to insert between 2 blocks.
- Add After – Creates a new block after the current block. Note, you can also achieve this by holding your mouse between 2 blocks until a blue line with a [+] appears to insert between 2 blocks.
- Copy/Paste Styles – Allows you to copy the style of a paragraph block onto another paragraph block.
- Lock – Allows you to lock a paragraph, preventing you from moving it or deleting it.
- Edit as HTML – Changes the view of the paragraph block into a block of HTML, allowing for more precise control.
- Delete – Deletes the selected block.