
SECTION 4 – CUSTOM PAGES
So, at this point it’s assumed you’ve:
A) Created a story
B) Created one or more chapters for that story.
So now we’re going to take advantage of a feature unique to this website: CUSTOM PAGES.
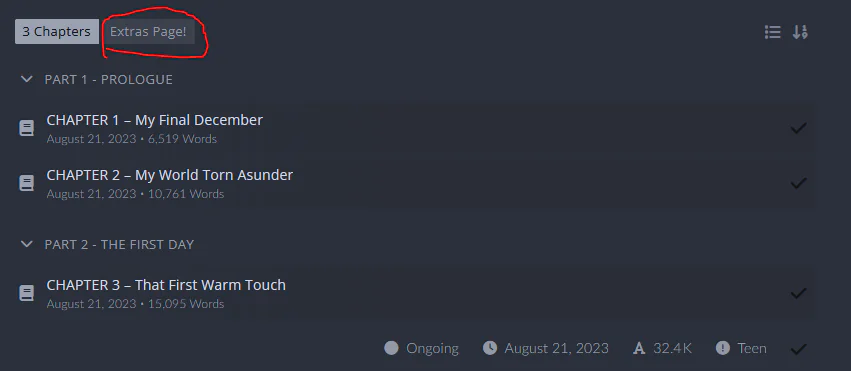
Custom pages allow you to create your own posts that are attached to your story in a new tab alongside your chapters tab, like this one here:
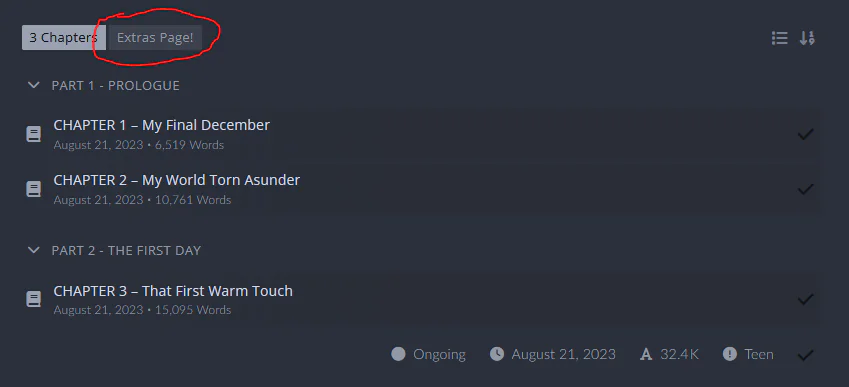
As you can see, this new tab contains whatever I want to put on this page! Let’s go over how to make a page and then apply it to the story.
SECTION 1 – ADDING AND EDITING A PAGE
Adding a page is exactly the same as adding a story or a chapter.
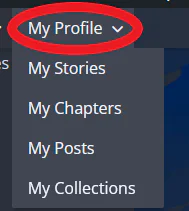
1) This time we’ll click on ‘My Profile’…
In the user Dashboard you can now select ‘Pages’ to be taken to your pages dashboard…
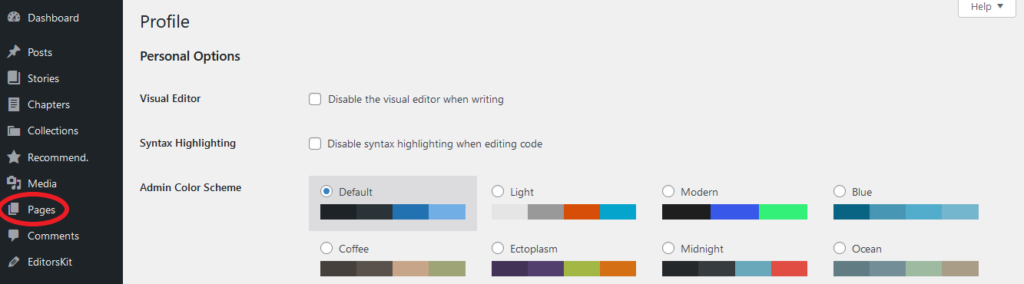
And from there you can click ‘Add New Page’ to begin.

2) The editor for pages is much more simplistic than it was for stories or chapters. There’s no extra options under the editor, only the editor itself. We’ll go into detail about the editor in another guide but for now you can focus on designing your page how you like using the block system.
SIDENOTE: We strongly recommend you give your title a unique identifier, like a prefix, like ‘FIRE AND STONE – Characters’ or the like, for reasons explained later.

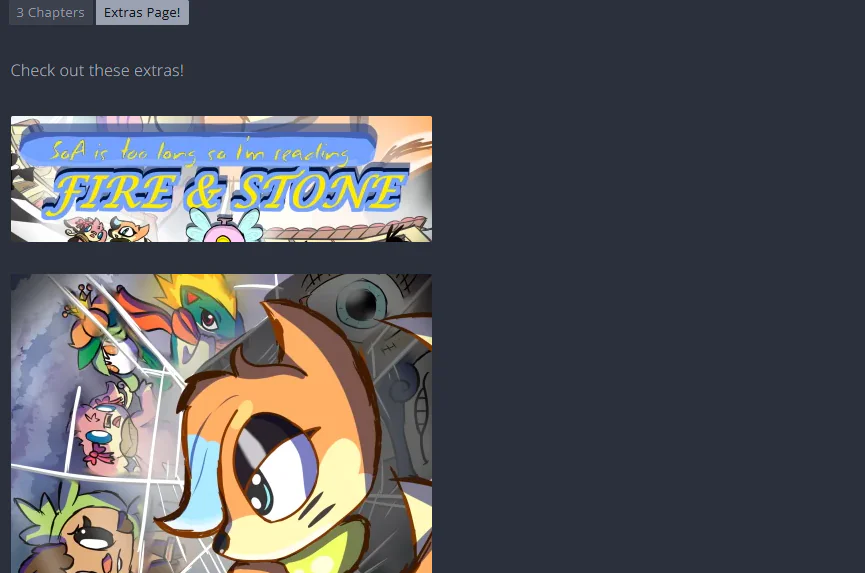
For the purposes of this guide, we’ll assume you know how to use the editor and can make your own page. If you need help with the editor itself, check on a later guide for an in-depth look into the editor. Here below I’ve created a little character bio page for my fic.

SECTION 2 – SIDEBAR OPTIONS
The sidebar for posting pages is much less complicated than that of chapter posting. However, there is a step here that is CRITICAL to your page being displayed, so don’t skip this section! THE IMPORTANT STEP IS AT 2.5 IF YOU WANT TO SKIP TO IT.
Section 2.1 – Summary
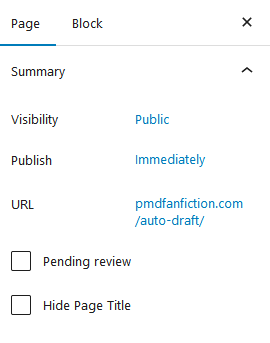
If you read the guides for posting stories and chapters this should look familiar. Just like with those it lets you set visibility (public, private, password protected – why PW protected? Maybe you don’t want people seeing this page unless they get to a specific point in your story!), time to post (now or a scheduled time in the future), and also lets you select if you want to have it pending for review.
Section 2.2 – Featured Image
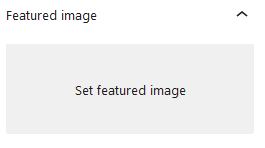
Just like with the stories and chapter guides, this option lets you set a featured image for this post. At present this won’t do much because of the nature of pages as being a sub-page to a story.
Section 2.3 – Excerpt
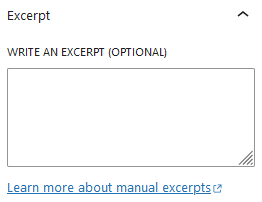
Again, like with chapters, the excerpt is used only in specific circumstances, like when the post appears in searching. By default, the first 55 characters of your post will be used, so if you’d like to write something more descriptive to be seen, put it here.
Section 2.4 – Discussion
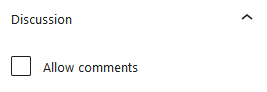
Under ‘Discussion’, the ‘allow comments’ button will let users leave comments. If users have left comments and this is later unchecked, those comments will be lost.
Section 2.5 – CRITICAL! Advanced + Short Name
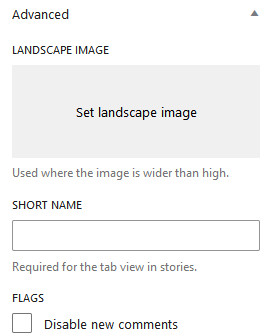
Make sure to NOT SKIP THIS PART. In order to have a tab in your story your post requires a short name. This name will be what shows on the tab itself so the page can be selected. Without a short name, THE TAB WILL NOT APPEAR.
The Landscape image, however, is optional. As stated in previous guides this is just an alternative landscape orientation image you can provide for any scenario where the website needs to display your image wider than it is tall (otherwise it’ll just crop the post image, which is ugly).
The final option, ‘flags’ has one flag – “Disable New Comments”. This locks the page from receiving any new comments without deleting any ones already posted.
SECTION 3 – PUBLISHING AND DISPLAYING
So, now the page is ready and we want to publish. Of course, this looks exactly like our stories and chapter publishing:
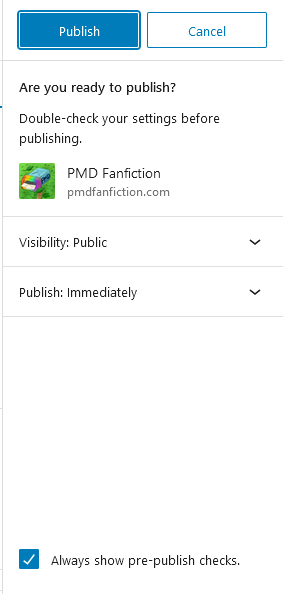
These options let you set visibility and publishing timing, just last-minute checks before going live.
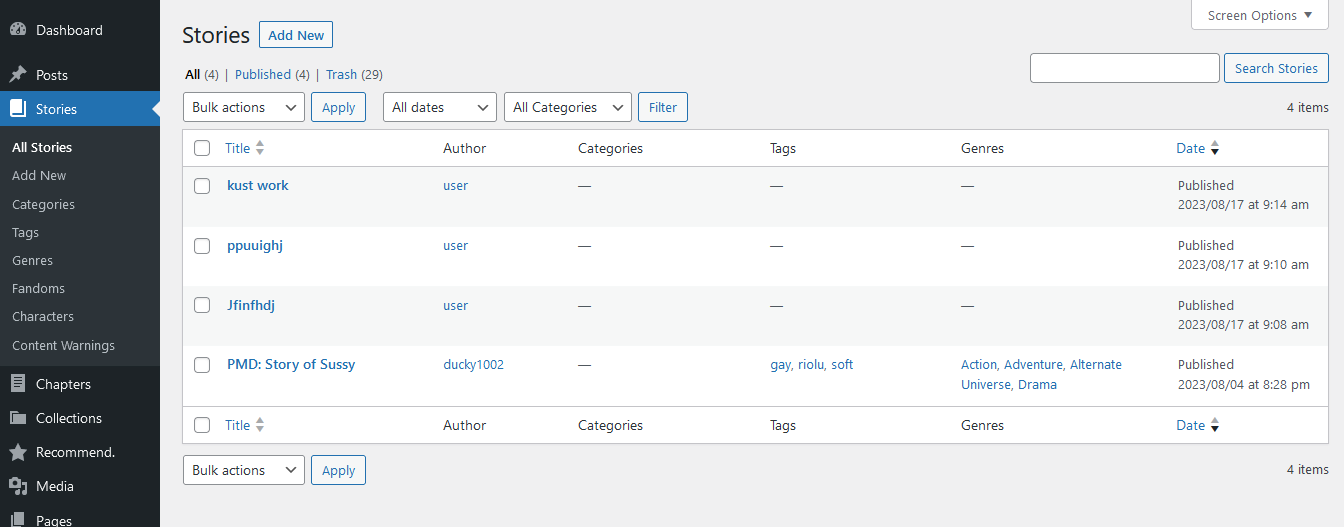
However, when you go to check your story you’ll find the tab isn’t there. There’s one final step we need to cover.
First, you have to edit the story you wish to put the page one. First, edit your story; this can be done either on the dashboard:
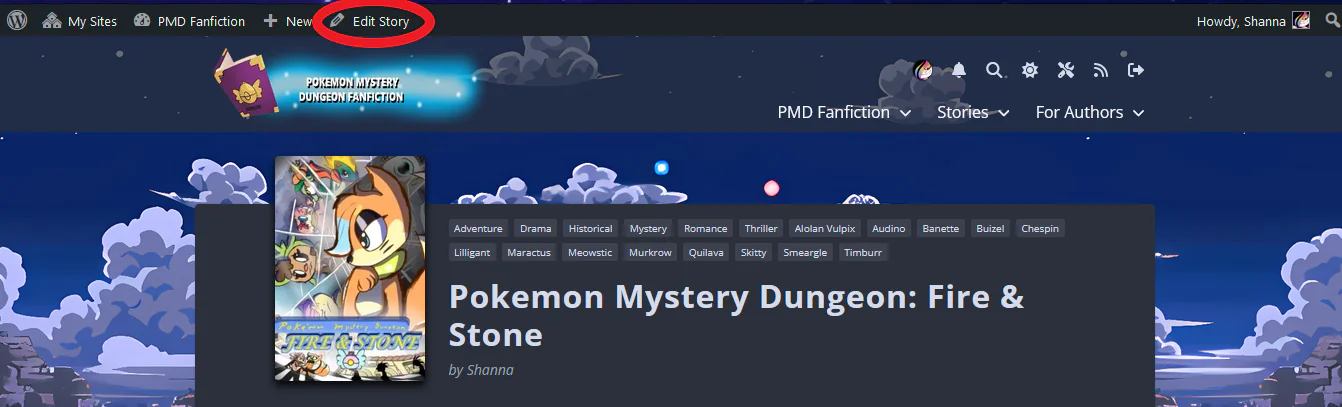
Or alternatively you can navigate to your story and click ‘Edit’.
From here, we scroll down to the custom pages option. You’ll have to scroll through a list of pages that exist on the site to find yours. For this reason we strongly recommend a page name with a unique identifier to tie it to your story so you can locate it.
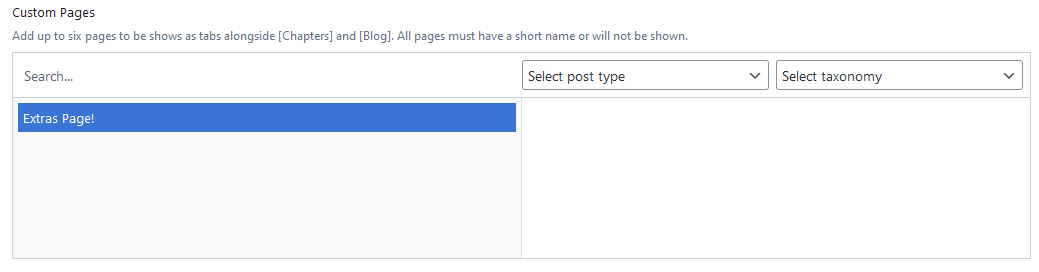
Upon updating the story you can view it on your story!
That’s all there is to it!